


Highlights
Locker Room Dimensions: Planning Space, Clearances and Aisles

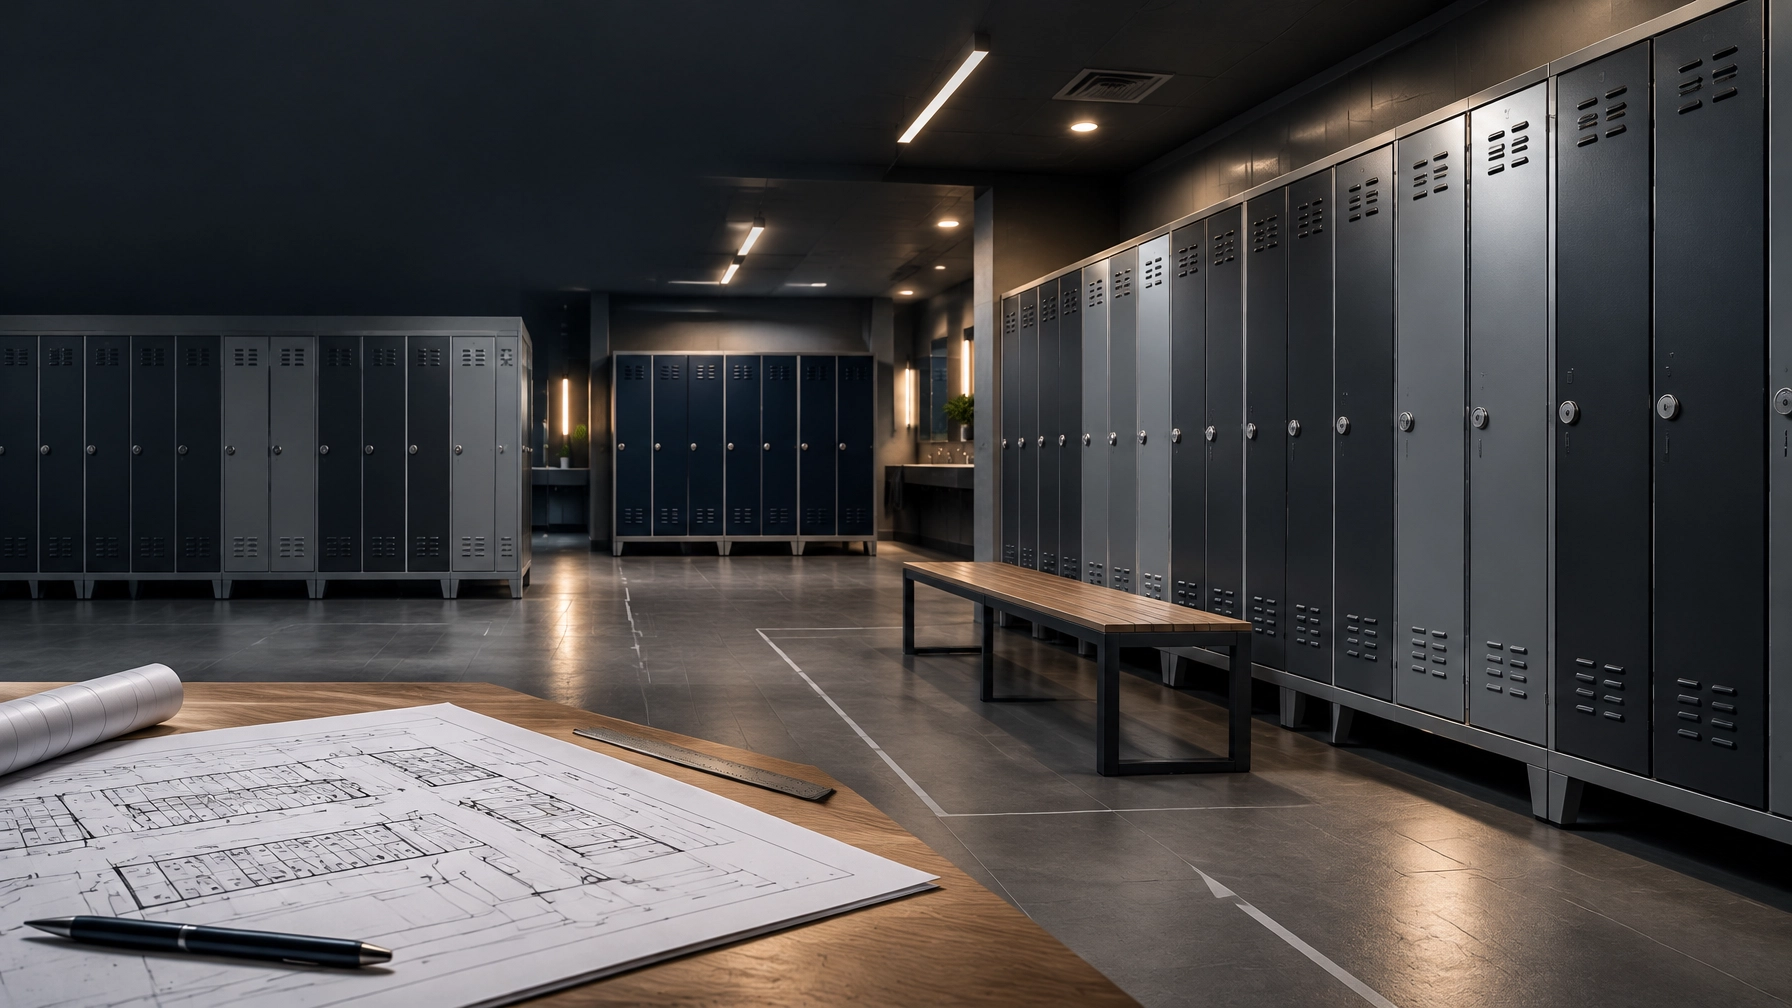
Planning locker room dimensions starts with more than the locker footprint. Architects, contractors and facility managers need to account for open doors, people changing, benches, accessible routes and wet areas. The figures below are typical planning guidance, not universal code requirements. Verify the finished layout against your local building, accessibility, fire and workplace rules.
| Room element | Typical planning guidance |
|---|---|
| Single-tier locker footprint | About 300 mm wide × 450 mm deep; confirm the exact model |
| Multi-door locker footprint | About 300 mm wide × 300 mm deep for some configurations |
| Locker height | Around 1,800 mm class |
| Clear space in front of a single locker run | About 1,000 mm as an early planning allowance |
| Aisle between facing locker banks | Allow more; around 1,800 mm or more is a useful starting point |
| Accessible route and turning space | Plan a 900 mm-plus route and a 1,500 mm turning circle; check applicable standards |
| Accessible bench | Around 450 mm seat height; verify length, depth and clear floor space against local requirements |
Locker Room Dimensions: Start With the Locker Footprint
Standard locker footprints help establish a first layout, but product sizes vary by manufacturer and configuration. A typical single-tier unit may be about 300 mm wide, 450 mm deep and 1,800 mm high. Some multi-door formats use a footprint around 300 × 300 mm. Treat these as early planning figures, then use the exact product drawing before fixing wall runs or ordering.
Check whether the stated locker dimensions are external or internal. External dimensions show the space the unit occupies; internal dimensions determine what fits inside. Include any feet, plinths, sloping tops and fittings in the installed height and footprint. For exact unit measurements, see our guide to locker sizes.
Loxmet offers single-tier, double-tier and multi-door configurations, plus locker benches for integrated seating. Catalogue dimensions vary by model, so request a drawing for your chosen configuration. Our changing room lockers can be planned as standard runs or adapted for project requirements.
Leave Space for Doors and Users
A closed locker’s footprint is only part of its working area. Draw the door swing and the person standing in front of the locker. Then check the remaining clear width when a door is open and another person is passing. Include bags, bench users and peak changeover periods in the test.
As typical industry guidance, allow about 1,000 mm clear in front of a single-sided locker run as an initial planning target. Facing banks need a wider working aisle: around 1,800 mm or more is a practical starting point, especially where both sides are used at the same time. These figures are not statutory minimums. The right clearance depends on user numbers, door operation, benches and local requirements.

Account for Benches and Clear Routes
Benches make a changing area more useful, but they take up floor space and affect circulation. Add the bench’s full depth to the plan, then test the aisle with people seated and locker doors open. A standard locker bench may be around 400 mm deep, while a double-sided bench with hangers can take substantially more space. Check the actual dimensions for the model.
Explore the locker benches category and our bench sizing and placement guide to coordinate seating with the locker run.
Accessible Provision Needs Its Own Plan
Do not treat accessibility as spare space to be found at the end of the design. Plan an accessible route, usable locker access, clear floor space and room to turn from the start. A 900 mm-plus route and a 1,500 mm turning circle can be useful early design references, but the required dimensions depend on the project’s applicable standards.
For U.S. projects, the U.S. Access Board guide to clear floor and turning space explains clear floor space and turning-space provisions for dressing and locker rooms. Its bench provisions specify a seat height of 430–485 mm, among other requirements. These are ADA-based references, not a substitute for the standards that apply at your site.
For UK workplace projects, Regulation 24 of the Workplace (Health, Safety and Welfare) Regulations addresses suitable and sufficient changing facilities in relevant circumstances. HSE guidance also covers changing rooms and lockers on construction sites. Confirm the applicable rules with your project team and local authority.
Separate Wet and Dry Zones
A practical locker room design separates wet activity from dry storage where the building layout allows. Place lockers and benches on the dry side of the room. Keep shower access, floor drains and wet traffic paths in the wet zone. Avoid routing people carrying wet clothing across the main dry circulation aisle.
Check floor falls, drainage, cleaning access and the position of ventilation outlets. Do not block air grilles with tall locker banks. For workwear or PPE that may be damp or contaminated, plan storage and handling around the facility’s procedures; separation may be required for hygiene and safe use.

Worked Layout Examples
These examples show how to think through a plan. They are not code-compliant drawings or fixed minimum room sizes. Confirm the actual layout with the project’s designer and the dimensions of the selected products.
Small Gym
For a compact gym with one locker wall, start with the actual locker depth, then add the clear working aisle. A 450 mm-deep run and a 1,000 mm initial aisle allowance use about 1,450 mm from the wall to the aisle’s far edge, before allowing for a bench or other obstruction. Check whether a bench fits without narrowing the usable route. A slim locker option can help where wall space is limited, but confirm that its compartments still suit what members need to store.
School Changing Area
For a school, estimate peak use rather than relying only on the number of enrolled students. Consider class changeovers, group sizes and whether benches sit between users and locker doors. Draw the doors open and allow a clear route through the room. Confirm accessibility, supervision and egress requirements before finalizing the number of lockers.
Factory Changing Room
For a factory, plan around shift overlap and the workwear routine. Separate wet and dry functions where needed, and keep routes clear during busy changeovers. HSE guidance notes that changing areas should include seating and facilities for drying clothing where needed, and that contaminated protective equipment should be kept separate from everyday clothing. Review the site’s welfare and safety requirements before selecting the locker layout.

Make Tight Rooms Work Harder
When floor space is limited, compare the overall layout before reducing every aisle. Slim lockers can use less wall width, while multi-door configurations can offer more individual compartments in a run. Confirm the dimensions of the exact model, door swing and contents before deciding that a smaller compartment will work.
If standard products do not fit the room, Loxmet supports custom locker layouts. Send a drawing or room measurements, user numbers, storage needs and preferred configuration. Loxmet manufactures in Istanbul, offers more than 100 standard products, accepts single-unit orders and provides a 10-year warranty. Custom-made products typically require approximately 10 additional working days.
Buyer Questions
How much space should I leave in front of lockers?
About 1,000 mm is a useful early allowance for a single-sided run. Increase the working space for busy areas, facing banks, benches or two-way traffic. Check the plan with doors open and confirm local requirements.
What are typical locker room sizes?
There is no single standard room size. The required floor area depends on locker capacity, locker depth, door swing, bench placement, user numbers, accessible provision and wet-zone requirements. Measure the room and test a scaled layout before specifying units.
Does the aisle width include open locker doors?
Use the clear width available when lockers are in use, not just the empty floor measurement with doors closed. Show door arcs and people accessing lockers on the plan.
How much turning space should an accessible changing room provide?
A 1,500 mm turning circle is a useful reference in some accessibility standards, but it is not universal. Check the requirements that apply to your country, building type and project.
Should benches go in front of lockers?
They can, but the combined bench depth, seated user, open doors and passing route must fit. Check the full arrangement on the floor plan and compare the exact bench measurements.
Can lockers be made to fit an unusual room?
Yes. Loxmet supports custom dimensions and layouts. Share your room plan and storage requirements with the team for review.
Finalize the Plan Before Ordering
Measure the room, confirm exact locker dimensions and test the layout with doors open, benches occupied and routes unobstructed. For a standard or custom solution, contact Loxmet with your drawing and requirements. Our team will help you review a practical configuration for your facility.